Master Nano Banana 2: The Complete Tutorial for Photorealistic AI Images
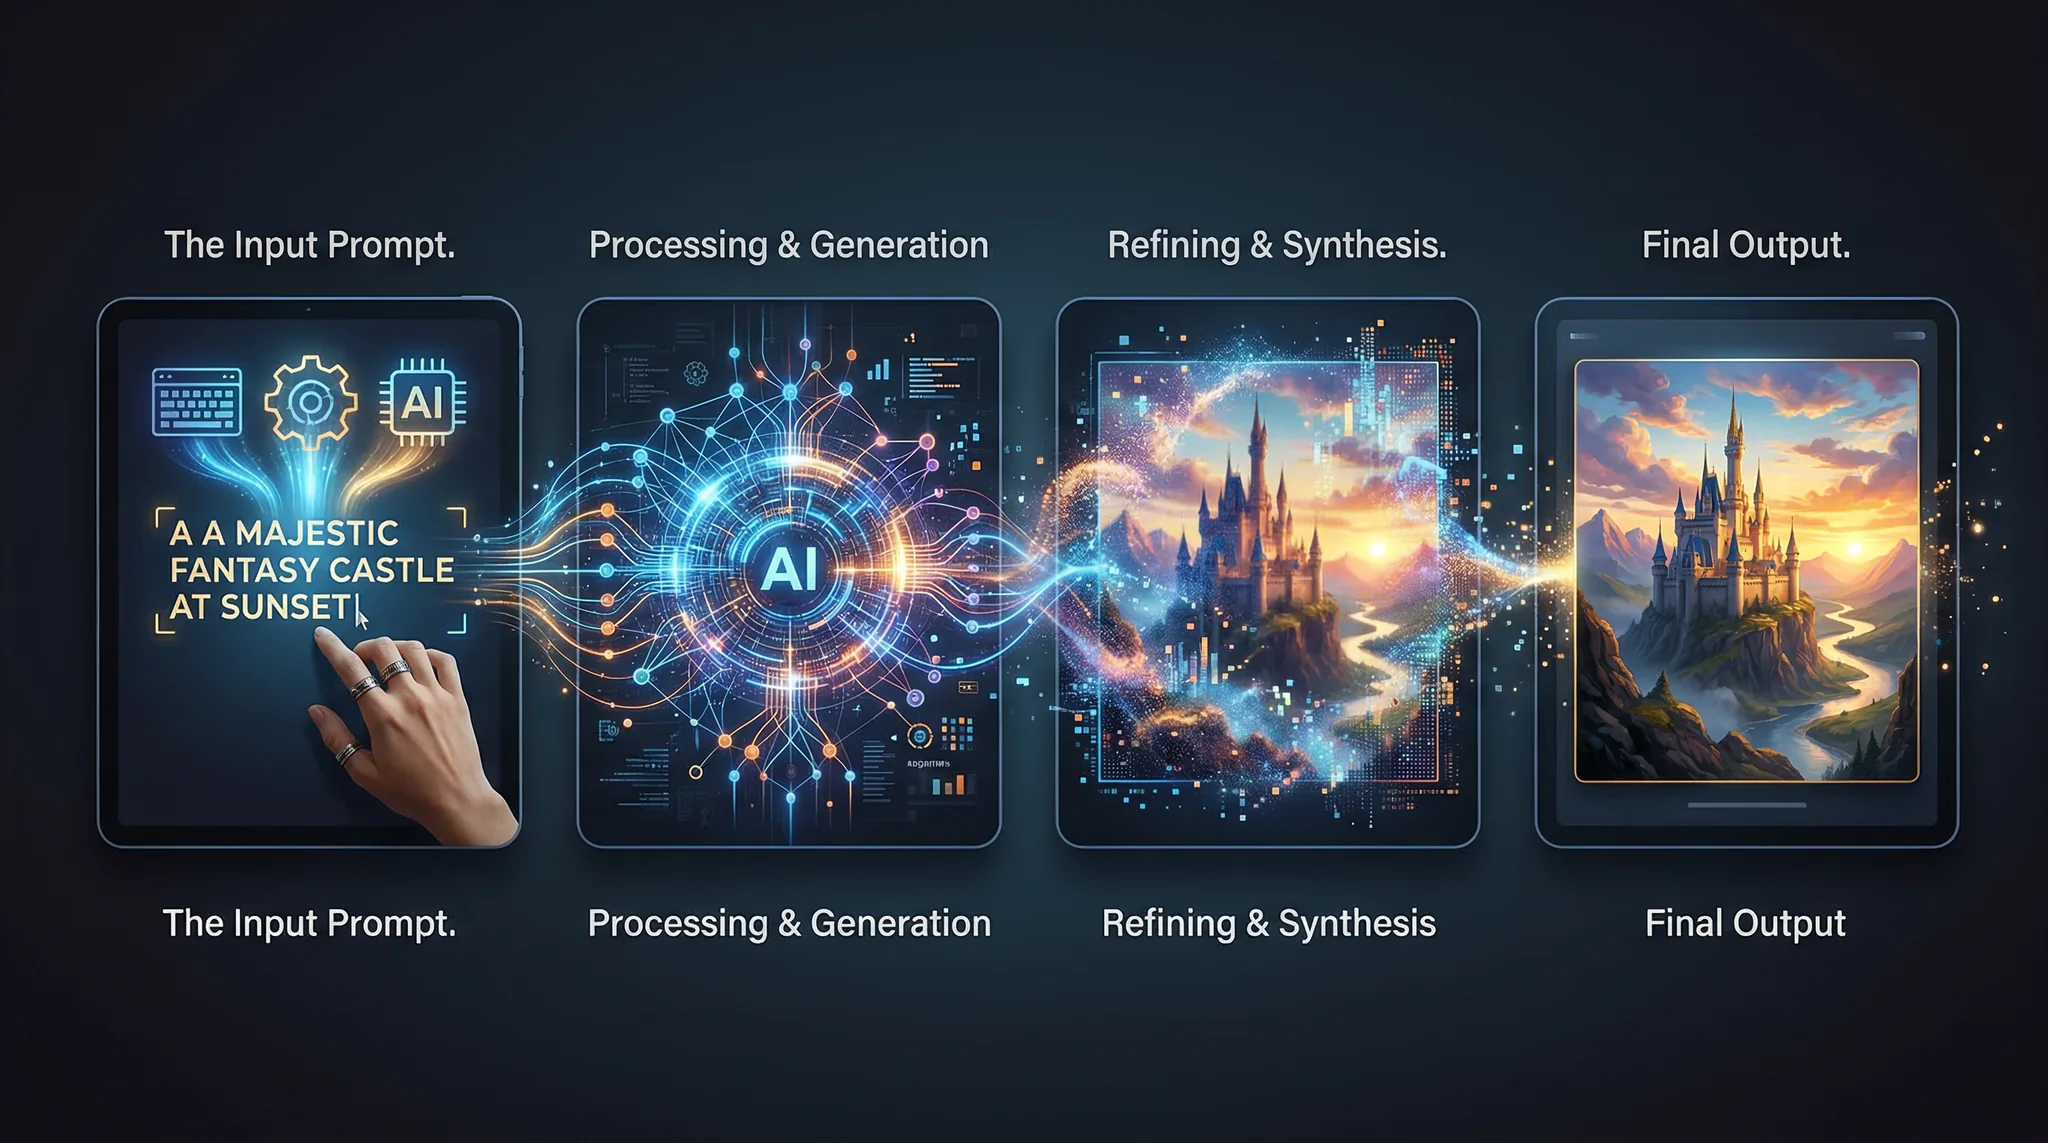
Nano Banana 2 is quickly becoming one of the most talked-about AI image models in the creative community, and for good reason. This model delivers stunningly photorealistic outputs with a level of detail and coherence that rivals much larger, more resource-intensive generators. Whether you are a designer exploring AI-assisted workflows, a marketer producing visual assets at scale, or an enthusiast experimenting with the latest AI tools, learning how to use Nano Banana 2 effectively will unlock a new tier of creative possibilities.
In this complete tutorial, you will learn exactly how the model works, how to structure your prompts for the best results, and how to troubleshoot common issues so that every generation counts.
What Is Nano Banana 2 and Why Does It Matter?
Nano Banana 2 is a fast, high-fidelity AI image generation model optimized for photorealistic output. It belongs to a new wave of models that prioritize realism over stylization, making it an excellent choice for use cases where the image needs to look like a real photograph rather than a digital illustration.
Key characteristics that set it apart:
Speed: Generations complete in seconds, not minutes. This makes iteration practical rather than tedious.
Photorealism by default: Unlike models that lean toward painterly or illustrative aesthetics, Nano Banana 2 produces images that look like they were captured with a real camera straight out of the box.
Prompt adherence: The model follows detailed prompts more faithfully than many alternatives, which means fewer wasted generations and less frustration.
Detail coherence: Hands, fingers, text elements, and fine textures are rendered with noticeably better accuracy than earlier generation models.
For anyone producing commercial content — product shots, headshots, marketing visuals, or social media assets — these characteristics make Nano Banana 2 an extremely practical tool.
Step 1: Access Nano Banana 2 Through Vidzy
The fastest way to start generating with Nano Banana 2 is through Vidzy, which provides direct access to the model with an optimized interface designed for creative professionals.
Here is how to get started:
Download Vidzy from the App Store or visit getvidzy.com.
Create your account or sign in if you already have one.
Navigate to the AI Image Generator section.
Select Nano Banana 2 from the available models.
Enter your prompt and hit generate.
That is all it takes to produce your first image. But the real power lies in how you craft your prompts, which is what the rest of this tutorial covers in depth.
Step 2: Understand Prompt Structure for Nano Banana 2
Every effective Nano Banana 2 prompt follows a consistent structure. Think of it as a recipe with specific ingredients in a specific order. The model responds best when you layer information from most important to least important.
The optimal prompt structure looks like this:
Subject → Environment → Lighting → Camera/Technical → Mood/Style
Here is an example that demonstrates this layering:
A professional headshot of a woman in her early 30s with shoulder-length auburn hair, wearing a charcoal wool blazer, standing in a modern office with floor-to-ceiling windows, soft natural window light from the left creating gentle shadows, shot on Canon EOS R5 with 85mm f/1.4 lens, shallow depth of field, warm neutral tones, confident and approachable expression
Each component serves a purpose:
Subject (who/what): “A professional headshot of a woman in her early 30s with shoulder-length auburn hair, wearing a charcoal wool blazer”
Environment (where): “standing in a modern office with floor-to-ceiling windows”
Lighting (how lit): “soft natural window light from the left creating gentle shadows”
Camera/Technical (how captured): “shot on Canon EOS R5 with 85mm f/1.4 lens, shallow depth of field”
Mood/Style (feeling): “warm neutral tones, confident and approachable expression”
Step 3: Master Lighting Descriptions
Lighting is the single most impactful variable in photorealistic AI generation. Nano Banana 2 understands professional photography lighting terminology exceptionally well, so using specific terms will dramatically improve your results.
Lighting setups that work particularly well:
Golden hour: “warm golden hour sunlight, long shadows, rich amber tones” — perfect for outdoor portraits and lifestyle shots.
Rembrandt lighting: “Rembrandt lighting with a triangle of light on the shadow side of the face” — classic portrait lighting that adds dimension.
Softbox studio: “large octabox key light at 45 degrees with white fill card” — clean commercial look for product and headshot work.
Overcast diffused: “overcast sky acting as a giant softbox, even diffused lighting, no harsh shadows” — ideal for fashion and editorial work.
Practical lighting: “lit only by the warm glow of a desk lamp and the blue light of a computer screen” — cinematic and atmospheric.
Avoid vague lighting descriptions like “good lighting” or “well-lit.” The more specific your lighting language, the more photorealistic and intentional your output will look.
Step 4: Use Camera and Lens References
One of Nano Banana 2’s strengths is its response to specific camera and lens references. These are not just decorative prompt additions — they genuinely change the character of the output image by mimicking the optical properties of real photography equipment.
Essential camera references to use:
For portraits: “85mm f/1.4” or “105mm f/2” — Creates natural compression and beautiful background separation.
For environmental shots: “35mm f/2.8” or “50mm f/1.8” — Provides context while keeping the subject prominent.
For product close-ups: “100mm macro lens” or “90mm tilt-shift” — Delivers razor-sharp detail with controlled focus planes.
For landscapes and architecture: “24mm f/8” or “16-35mm wide angle” — Captures expansive scenes with deep depth of field.
You can also reference specific camera bodies for additional realism cues:
Shot on Hasselblad X2D 100C, medium format, incredible detail and dynamic range, natural film-like color rendering
Captured with Sony A7R V, 14-bit RAW quality, full-frame sensor, rich shadow detail
Step 5: Control Aspect Ratio and Composition
Nano Banana 2 supports multiple aspect ratios, and choosing the right one for your use case is critical. The aspect ratio you select directly affects composition and framing.
Recommended aspect ratios by use case:
9:16 (Vertical): Instagram Stories, TikTok backgrounds, mobile wallpapers.
3:2 (Classic): Standard photo print ratio, editorial layouts, portfolio work.
Combine aspect ratio selection with compositional cues in your prompt. Phrases like “rule of thirds composition,” “centered subject,” “negative space on the left for text overlay,” and “symmetrical framing” all guide the model toward more intentional layouts.
Step 6: Generate Photorealistic Portraits
Portraits are where Nano Banana 2 truly shines. Here are three battle-tested portrait prompts you can use as starting templates:
Corporate headshot:
Professional corporate headshot of a man in his 40s, salt-and-pepper beard neatly trimmed, wearing a navy suit with a light blue dress shirt, no tie, neutral gray studio background, Profoto studio strobe with large umbrella creating soft even lighting, Canon EOS R5 85mm f/2, slight smile, direct eye contact, sharp focus on eyes, clean and polished
Creative portrait:
Editorial portrait of a young woman with freckles and curly red hair, wearing an oversized vintage denim jacket, standing in an abandoned greenhouse with overgrown plants and broken glass panes, shafts of warm afternoon sunlight streaming through, dust particles floating in light beams, Nikon Z9 with 50mm f/1.2, dreamy and contemplative mood
Environmental portrait:
Chef in a professional kitchen, white double-breasted chef coat, arms crossed confidently, stainless steel counters and copper pots softly blurred behind, overhead fluorescent lighting mixed with warm accent lights, 35mm documentary photography style, authentic and candid feel, medium format film grain
Step 7: Generate Product and Commercial Images
For e-commerce and marketing use cases, Nano Banana 2 can produce product imagery that looks like it came from a professional studio shoot.
Clean product shot:
Minimalist product photography of a frosted glass perfume bottle on a white marble surface, soft gradient background transitioning from warm beige to white, single overhead softbox creating a clean highlight on glass, subtle shadow underneath, commercial advertising photography, Hasselblad H6D, 120mm macro, f/11 for maximum sharpness
Lifestyle product shot:
A ceramic coffee mug with a matte sage green glaze sitting on a rustic wooden table, steam rising from hot coffee, morning sunlight streaming through linen curtains, a folded newspaper and reading glasses nearby, cozy lifestyle product photography, warm inviting tones, shot on Fujifilm GFX 100S with 80mm f/1.7
The key to commercial-quality product images is including specific material descriptions (frosted glass, matte ceramic, brushed metal), surface details (marble, wood grain, concrete), and very deliberate lighting setups.
Step 8: Troubleshoot Common Issues
Even with well-structured prompts, you will occasionally get results that need adjustment. Here are the most common issues and their fixes:
Problem: Image looks too digital or AI-generated
Solution: Add film stock references like “Kodak Portra 400 color rendering” or “subtle film grain.” Include “natural skin texture with pores and fine details” for portraits. Remove any stylistic keywords like “4K” or “ultra HD” which can sometimes push the model toward an over-processed look.
Problem: Lighting looks flat and uninteresting
Solution: Replace generic lighting descriptions with specific setups. Instead of “studio lighting,” write “single key light at 45 degrees above and to the right, no fill, creating dramatic shadow falloff on the left side of the face.”
Problem: Composition feels random or cluttered
Solution: Add explicit composition direction. “Subject placed at the right third of the frame, looking toward camera left, open negative space on the left side” gives the model clear spatial guidance.
Problem: Colors feel oversaturated or unnatural
Solution: Specify a color palette. “Muted earth tones with desaturated greens and warm highlights” is far more effective than hoping the model will choose pleasant colors on its own.
Problem: Hands or fingers look distorted
Solution: Where possible, frame your prompt to avoid complex hand poses. “Hands in pockets,” “arms crossed,” or “hands resting on table” are safer than open-fingered gestures. Nano Banana 2 handles hands better than most models, but simpler poses still yield the best results.
Step 9: Build a Reusable Prompt Template Library
The most efficient way to use Nano Banana 2 is to create a library of base templates that you can modify for different projects. Here is a starter framework:
Base portrait template:
[Subject description with age, features, expression, wardrobe] in [environment/location], [specific lighting setup], shot on [camera body] with [lens and aperture], [depth of field], [color palette/film stock], [mood/emotion], [composition notes]
Base product template:
[Product description with material and color] on [surface material], [background description], [lighting type and direction], [shadow description], commercial product photography, [camera and lens], [aperture for sharpness], [overall style]
Save your best-performing prompts and annotate them with notes about what worked. Over time, you will build an intuition for which descriptions produce the strongest results with this specific model.
Step 10: Optimize Your Workflow with Vidzy
To get the most out of Nano Banana 2, integrate it into a consistent workflow:
Start with the Vidzy Prompt Generator to build a well-structured base prompt with all the key components.
Generate 3-4 variations of your initial prompt with slight modifications to lighting, angle, or expression.
Evaluate and refine: Identify which elements worked best and combine them into an optimized prompt.
Save your winners: Keep a personal library of prompts that consistently deliver results you are happy with.
Batch generate: Once you have a proven prompt template, produce multiple assets in a single session for maximum efficiency.
This iterative approach means you spend less time guessing and more time producing polished, professional-quality visuals.
Frequently Asked Questions
Is Nano Banana 2 free to use?
Nano Banana 2 is available through Vidzy using the credit-based system. You can start with free credits to test the model and upgrade as your needs grow.
How does Nano Banana 2 compare to Flux and Midjourney?
Nano Banana 2 excels at photorealistic output with fast generation times. Flux offers more stylistic range, while Midjourney tends toward more artistic interpretations. For pure photorealism and speed, Nano Banana 2 is extremely competitive.
What resolution does Nano Banana 2 output?
The model generates high-resolution images suitable for social media, web use, and print at standard sizes. Exact resolution depends on the aspect ratio you select.
Can I use Nano Banana 2 images commercially?
Yes. Images generated through Vidzy can be used for commercial purposes including marketing materials, social media content, and product listings.
What types of images does Nano Banana 2 handle best?
The model is strongest with portraits, product photography, lifestyle scenes, and any subject that benefits from a photorealistic treatment. It handles skin tones, material textures, and natural lighting particularly well.
Start Creating with Nano Banana 2 Today
Nano Banana 2 represents a genuine step forward in accessible, high-quality AI image generation. By following the prompt structure and techniques outlined in this tutorial — layered descriptions, specific lighting language, camera references, and intentional composition — you can produce images that genuinely rival professional photography.
The best way to learn is to start generating. Open Vidzy, select Nano Banana 2, and try the example prompts from this guide. Then start modifying them for your own projects. Every generation teaches you something new about how the model interprets your instructions, and that knowledge compounds quickly.
Ready to create stunning photorealistic images? Download Vidzy and start your first Nano Banana 2 generation now.
Elena Vasquez is a digital marketing consultant specializing in AI-powered content for small businesses. She helps brands leverage AI video and image tools to create professional marketing assets on any budget. She writes about use cases, social media strategies, and practical AI tutorials.